What We Can Learn From Observing Photographers
There’s a particular kind of education that happens when you stop taking pictures for a minute and just watch other photographers work. Not workshops, not YouTube tutorials — just standing on a riverside promenade at dusk, watching two strangers handle their gear, their light, and their moment in completely different ways.
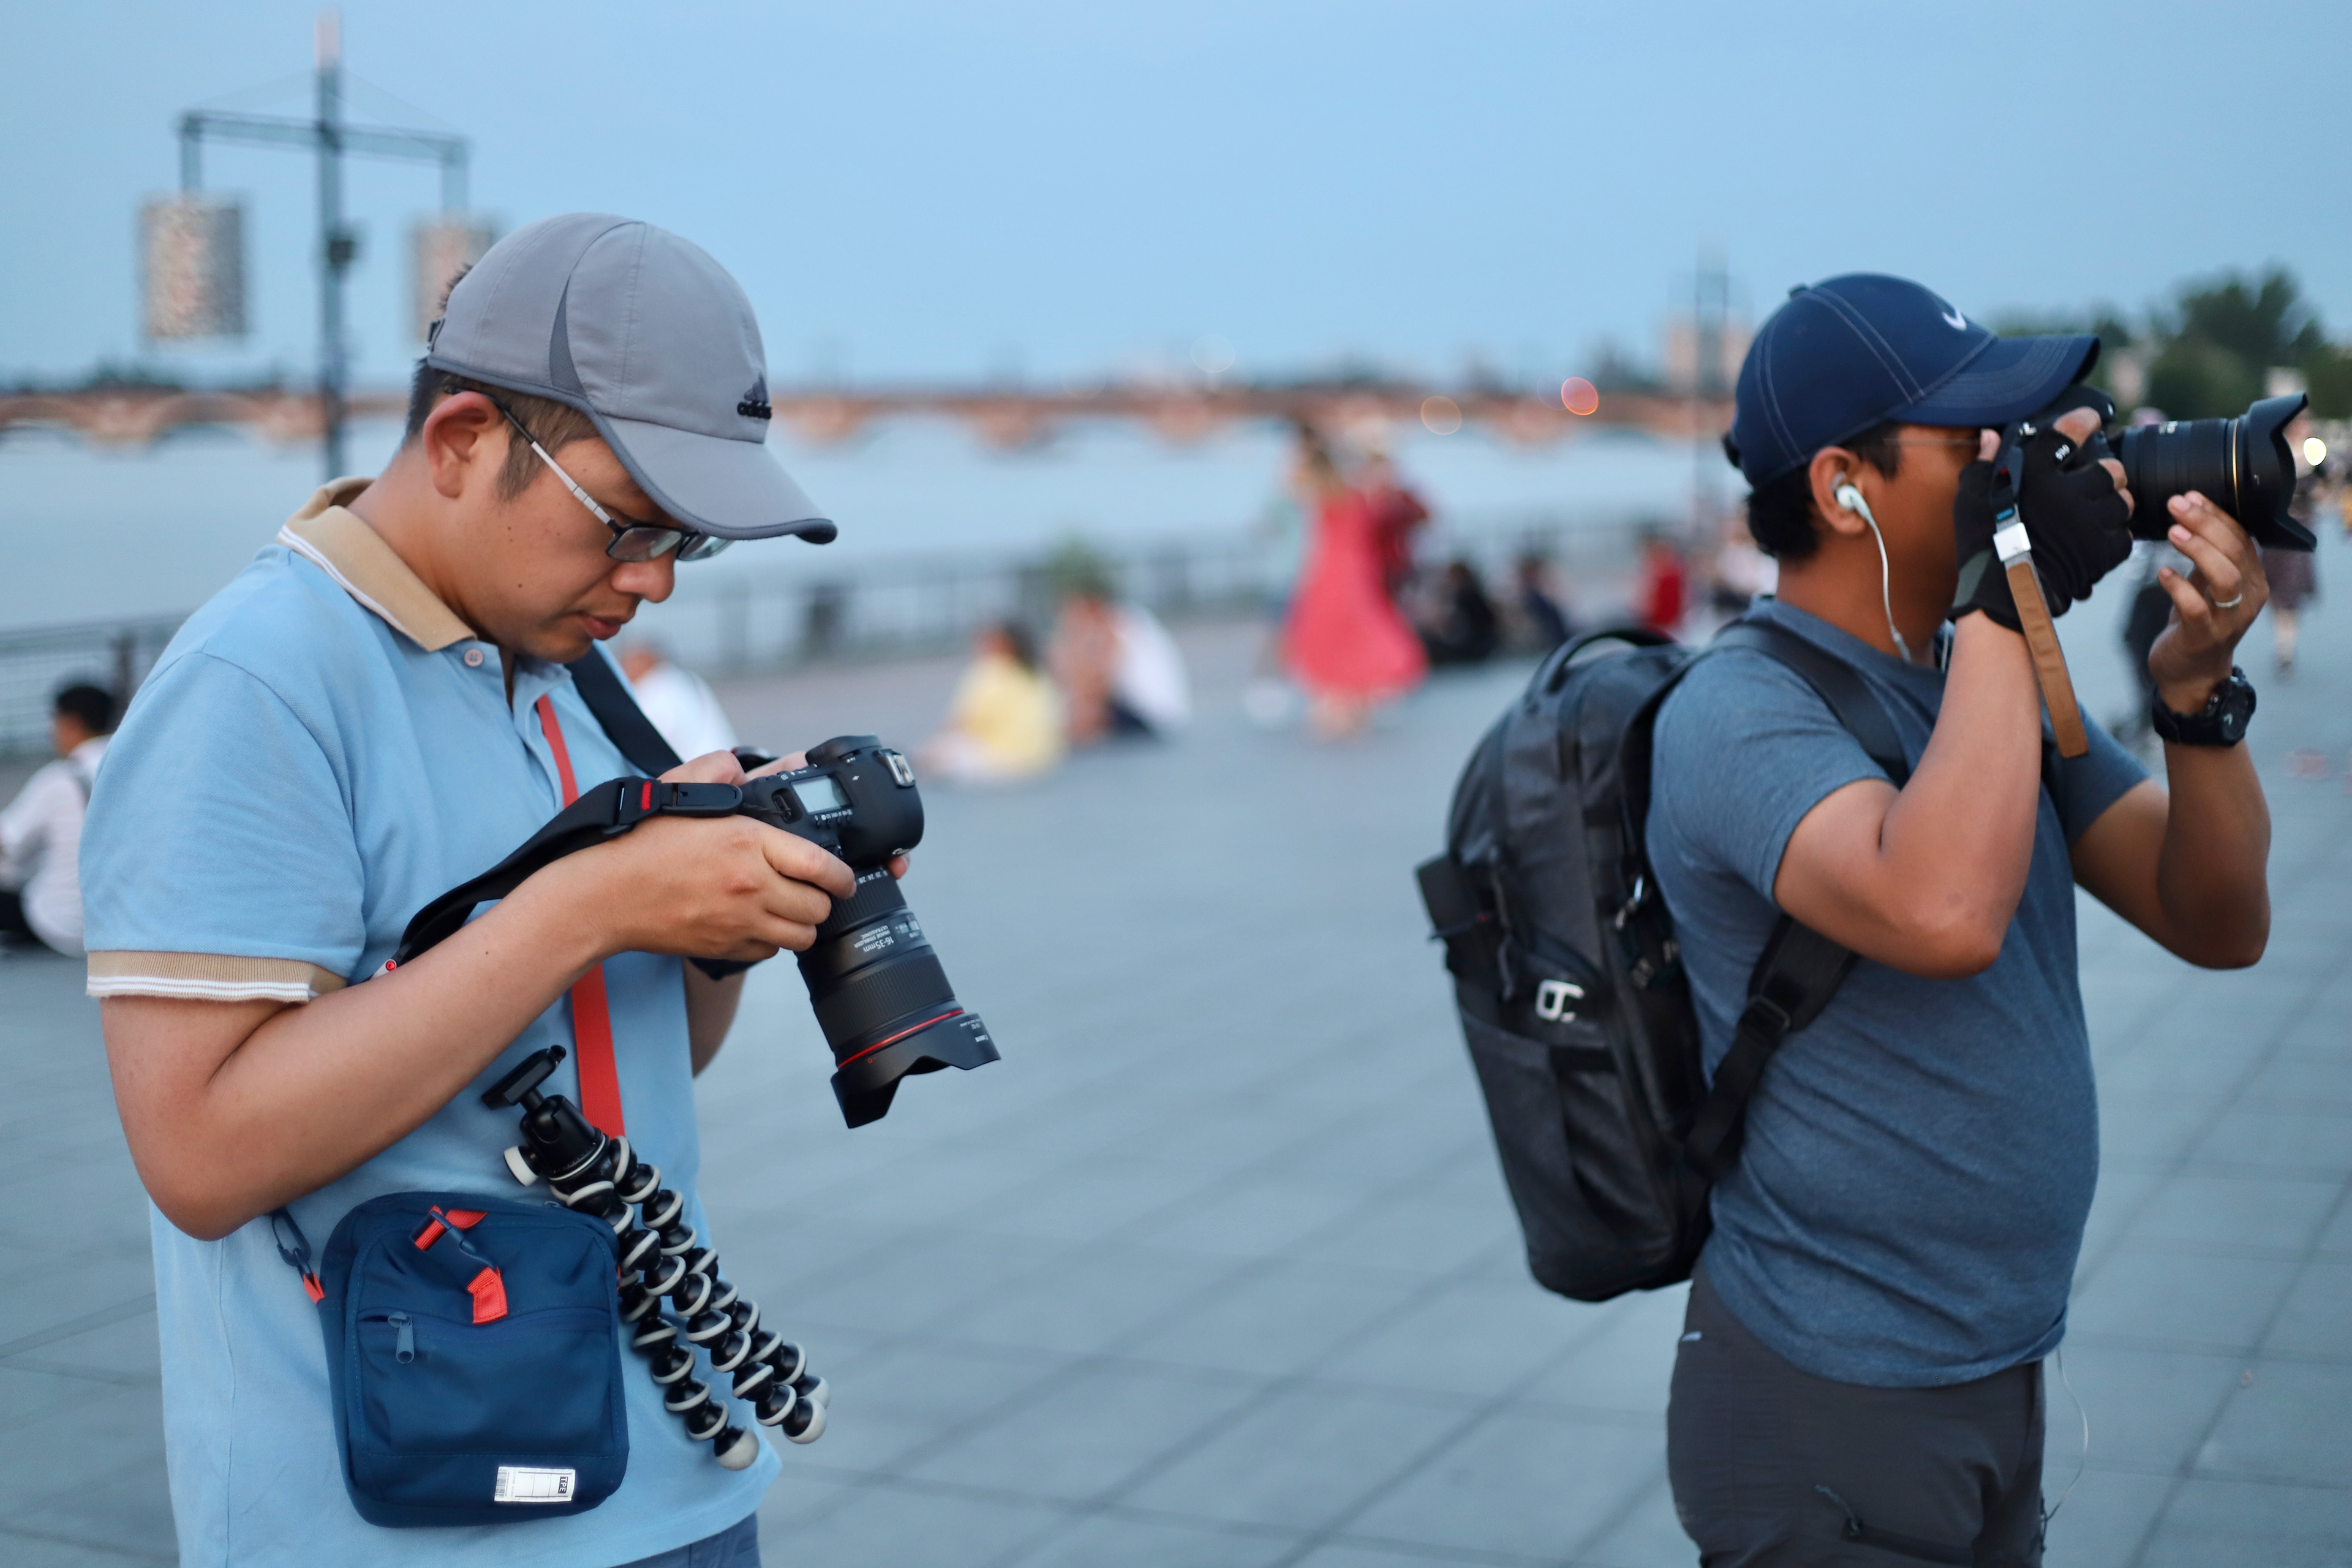
That’s exactly the scene that prompted this post: two photographers on a bridge-side boardwalk during blue hour, cameras up, clearly working the same scene but approaching it from opposite instincts. One is reviewing a shot on his LCD screen, camera held close to his chest, a compact travel tripod clipped to his sling bag. The other is still shooting, camera raised to his eye, backpack on, earbuds in, fully absorbed in the frame he hasn’t taken yet. Between the two of them is almost a complete lesson in photographic temperament, gear philosophy, and street shooting habit.
The Chimping Question: Good Habit or Bad Habit?
The photographer checking his LCD screen mid-session is doing something photographers love to argue about: “chimping,” the habit of reviewing a shot immediately after taking it (named, half-affectionately, for the ooh-ooh-ah-ah reaction photographers make while doing it).
Chimping gets a bad reputation in some circles. The argument against it is straightforward: checking your screen after every shot pulls your eye out of the scene. In fast-moving street photography, that half-second of looking down can cost you the next real moment — the crowd shifts, the light changes, the interesting stranger walks out of frame while you’re busy admiring composition on a three-inch screen.
But there’s a strong case for it too, especially in a session like this one — dusk light dropping fast, exposure settings needing constant small adjustments, a long zoom lens where focus accuracy matters more than usual. Confirming exposure and focus in real time, rather than finding out back at the hotel that half the shots from a fleeting blue hour are soft or blown out, is simply good practice. The real skill isn’t avoiding the LCD altogether — it’s learning to check efficiently: a fast glance at histogram and focus points, not a slow scroll through the last twenty frames while the scene evaporates.
The honest answer is that chimping is neither good nor bad on its own. It’s a tool. Used deliberately during a technical, changing-light situation, it’s just quality control. Used reflexively after every frame regardless of conditions, it becomes a crutch that separates you from the moment you came to shoot.
Sling Bag vs. Backpack: How Photographers Carry Their Gear
Look at how differently these two photographers are set up for the same walk. One carries a cross-body sling bag, small and quick to swing around to the front for a lens change or battery swap without ever taking it off his shoulder. The other has a full backpack, more capacity, more protection, but every access requires shrugging it off or twisting awkwardly to reach a side pocket.
This is one of the most personal decisions in a photographer’s kit, and there’s no universally correct answer — only a correct answer for a specific kind of shooting.
Sling bags make sense when:
- You’re moving constantly and need fast access — street photography, events, photo walks where the next shot could happen in three seconds
- You’re carrying a lighter kit: one body, one or two lenses, minimal accessories
- You want the bag to stay accessible without breaking your shooting rhythm
Backpacks make sense when:
- You’re carrying a full kit — multiple bodies, several lenses, a laptop, filters, extra batteries
- You’re hiking, traveling, or doing long days where back support and weight distribution matter more than speed of access
- You don’t need split-second access because you’re planning shots rather than reacting to them
The photographer in the sling bag here also has a compact flexible tripod (the kind with bendable, ball-jointed legs that can wrap around railings or sit on uneven ground) clipped to the outside of his bag — which brings up the next point.
Why Every Street and Travel Photographer Should Carry a Flexible Mini-Tripod
That small clip-on tripod is doing more work than its size suggests. As blue hour deepens into full dusk, shutter speeds drop and hand-holding becomes riskier even with image stabilization. A full-size tripod is rarely practical for a casual riverside walk — too bulky, too slow to set up, too conspicuous for candid work. A flexible mini-tripod solves the problem without the commitment:
- It wraps around railings, posts, or benches for a stable base in places a standard tripod’s legs couldn’t reach
- It packs small enough to clip to a bag strap and forget about until you need it
- It’s fast enough to deploy for a five-second long exposure of city lights or water without breaking the flow of a walk
- It works for both stills and the increasingly common need to prop a camera for a quick video clip or vlog-style shot
For anyone shooting blue hour, night markets, or any low-light urban environment where a “proper” tripod would be overkill, this kind of compact stabilizer is arguably a more useful piece of kit than a second lens.
Two Photographers, Two Styles
Step back from the gear and look at posture and attention. One photographer has stopped to review — deliberate, technical, quality-checking before moving on. The other is still shooting, camera to his eye, earbuds in, tuned out of the ambient noise of the boardwalk and tuned entirely into his viewfinder.
Neither approach is “more serious” than the other. They represent two legitimate rhythms of working a scene:
- The reviewer treats each frame as a checkpoint. Shoot, check, adjust, shoot again. This rhythm suits technical subjects, changing light, or anyone still building confidence in their exposure instincts.
- The instinctive shooter treats the session as a continuous flow. Frame, shoot, frame again, review later. This rhythm suits fast-changing street scenes where the next moment won’t wait for a screen check.
Most experienced photographers actually move between both modes without thinking about it — shooting instinctively when the scene demands speed, then dropping into review mode the moment things slow down, exactly as these two seem to be doing simultaneously, ten feet apart, without any coordination between them.
Blue Hour: Why the Twenty Minutes After Sunset Matter
The light in this scene is the real subject, even if the two photographers are the foreground. That flat, cool, evenly diffused sky — no harsh shadows, no blown highlights — is blue hour: the window after the sun dips below the horizon but before true darkness sets in, when the sky still holds a soft residual glow.
A few things make this window worth planning around rather than shooting through by accident:
- Even exposure across the frame. Without a direct light source, there’s far less dynamic range to fight than during golden hour or midday. Skin tones, sky, and background city lights can all sit within a single exposure without heavy bracketing.
- City lights start to register. Streetlamps, building windows, and bridge lighting begin to glow against the sky rather than disappearing into it — which is why cityscape and architectural photographers treat blue hour as prime time, often more valuable than sunset itself.
- It’s short. Ten to twenty minutes, depending on latitude and season. This is exactly why one of these photographers is chimping constantly — there’s no time to fix a bad exposure by trial and error later; you confirm and move on.
- Motion becomes a creative option. Slightly longer shutter speeds pick up gentle blur in moving pedestrians or water, which is where that flexible mini-tripod earns its keep again.
Reading a Candid Scene: Composition Lessons From the Background
Even the background here offers something worth noting for anyone shooting candid street or documentary work: a blurred pedestrian in a red dress mid-stride, scattered figures sitting along the riverside railing, a bridge dissolving into soft bokeh in the distance. None of it is posed, none of it is the “subject,” and yet it does real compositional work — depth, color contrast against the cooler tones of dusk, and a sense of a lived-in public space rather than a staged shot.
This is worth remembering next time a scene feels “empty” of a subject. A wide aperture and a longer lens (like the zoom the photographer on the right is using) can turn ordinary background activity into a soft, layered frame that supports a foreground subject without competing for attention.
The Bigger Takeaway
None of this required a workshop or a tutorial — just paying attention to two strangers doing what they came to do. Photographers reveal an enormous amount about their process just by how they hold a camera, what they clip to their bag, and whether they’re looking at the screen or through the lens. Watching other photographers work, even briefly and without ever speaking to them, is one of the most underrated ways to sharpen your own habits: what to carry, when to check your shot, and how to read a fading light before it’s gone.
Next time you’re out with a camera and you spot another photographer mid-session, it’s worth a few seconds of observation before you raise your own camera. There’s often a small lesson in it.