Ring Lights in Daylight: How Close You Have to Be for On-Axis Fill to Work
A ring light is the only modifier that puts the light source exactly where your lens is. Everything else about it follows from that one fact, including the things people find surprising about it later. It isn’t a soft box with a hole in it and it isn’t a beauty dish. It’s a light that sits on the optical axis, and on-axis light behaves in a way nothing else does.
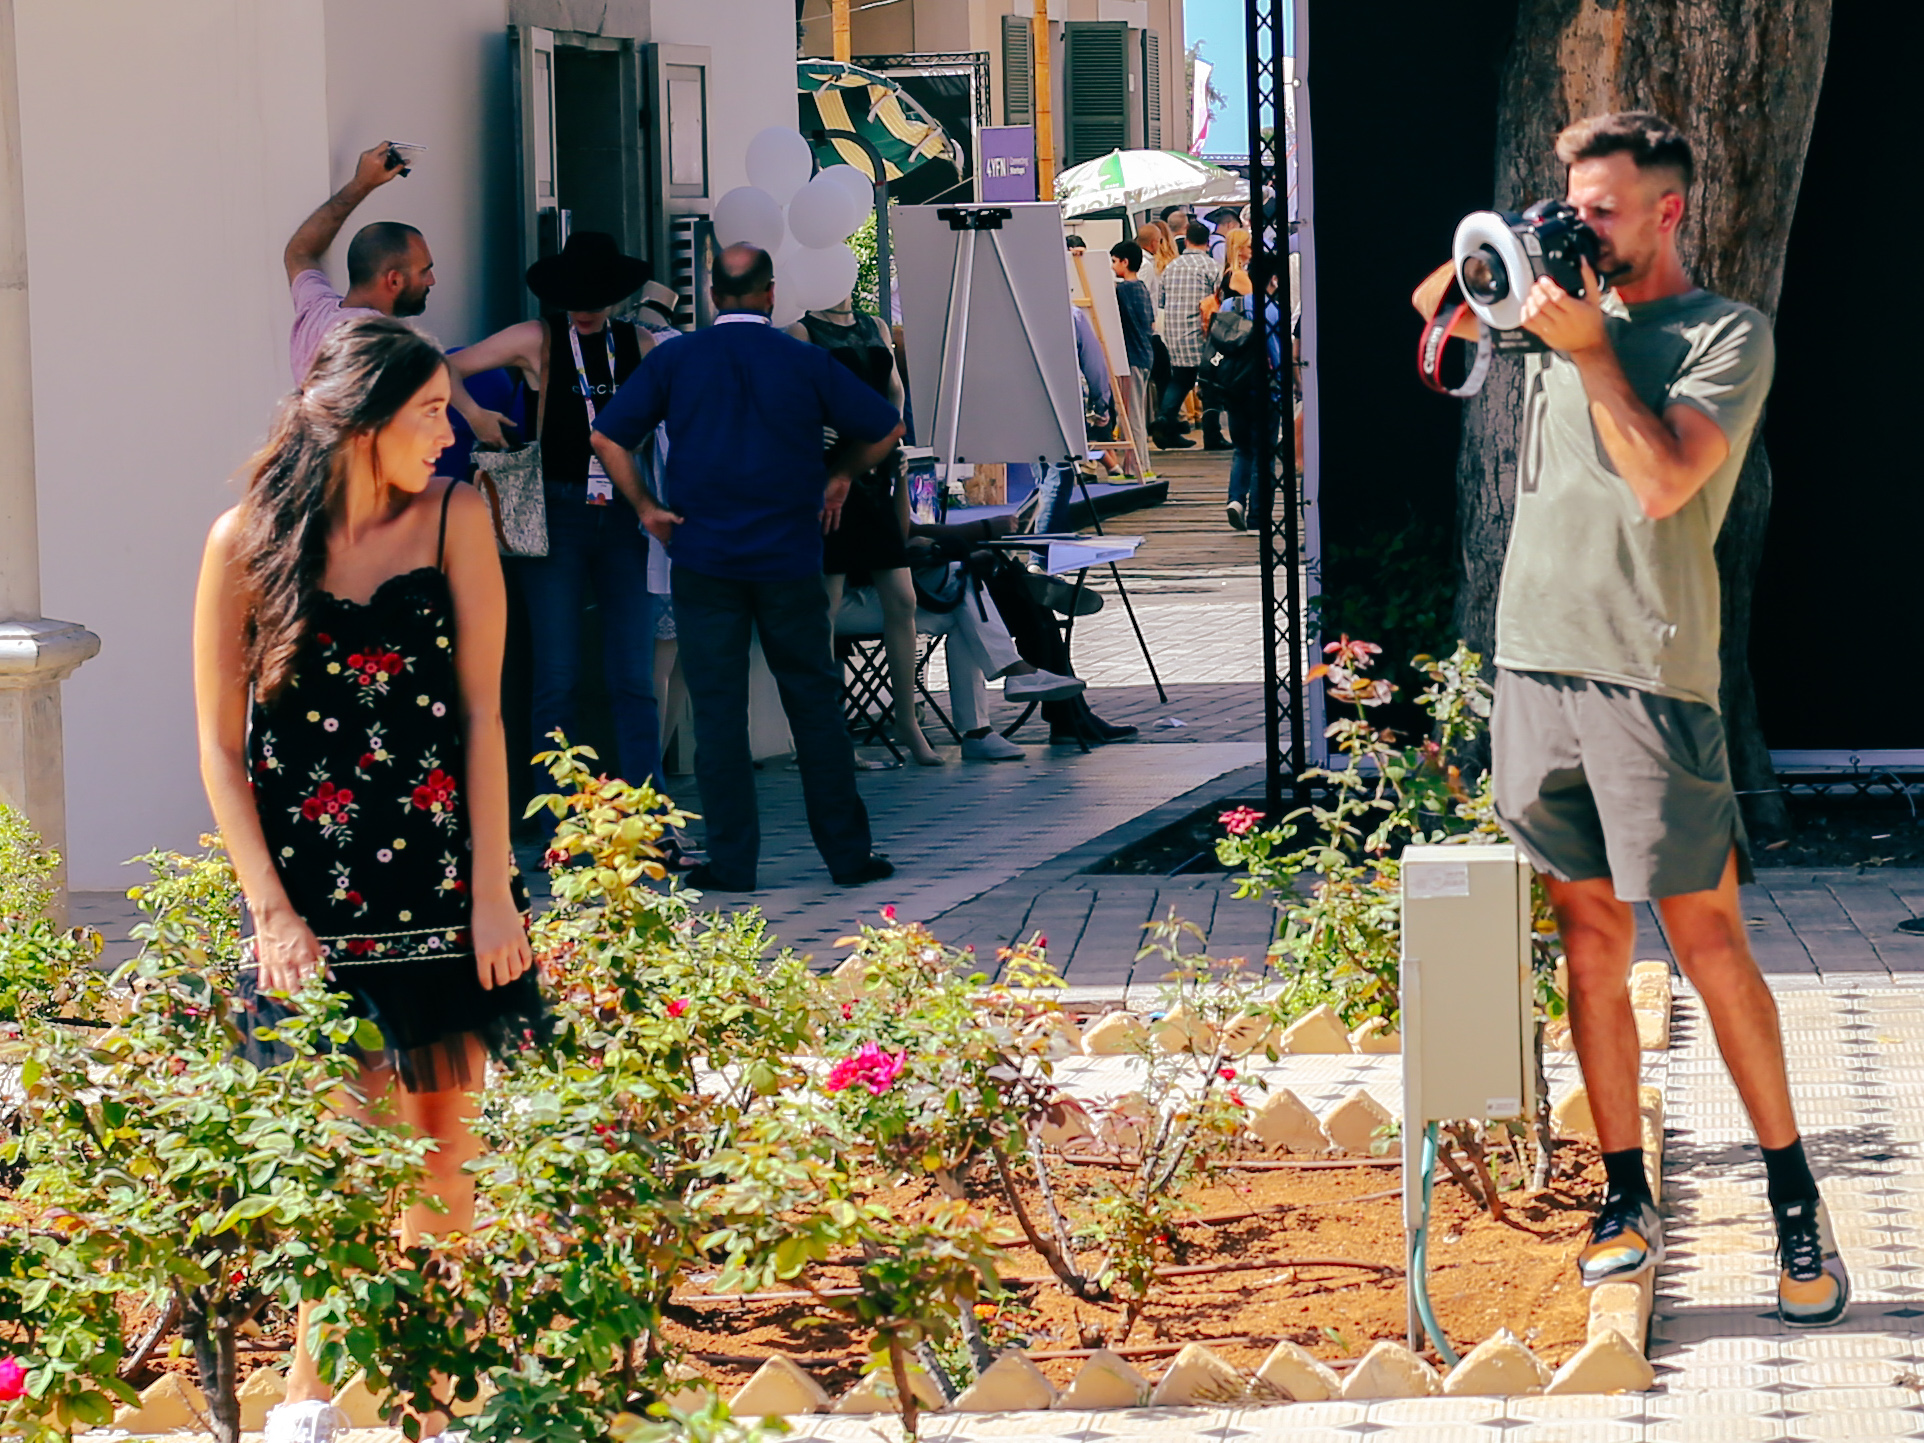
Point a normal light at someone and it carves a shadow across the face, which is what gives the picture shape. Put the light around the lens instead and the shadow falls directly behind the subject, hidden by the subject. You get no visible shadow on the face at all. Skin texture flattens out, blemishes fill in, and a perfect circle appears in each eye. That look is instantly readable, which is why beauty and fashion shooters have used it for decades and why it took over vlogging the moment cheap LED versions arrived.
Distance is the whole game
Light falls off with the square of the distance, and a ring is a small source with a modest output. At half a metre it dominates. At a metre it’s still doing real work. At three metres outdoors in bright sun it contributes a catchlight and very little else.
That isn’t a limitation so much as a spec. Learn the working distance of the unit you own and shoot inside it. Most cheap LED rings live somewhere between forty centimetres and a metre and a half in daylight. A proper ring flash, meaning something with actual flash tubes rather than LEDs, will hold up considerably further out and can genuinely compete with midday sun at two or three metres. Those are two different tools that happen to share a shape, and the price gap between them is the reason.
If you’re shooting a full-length frame from six metres away, the ring is decoration. Move in. Ring light photography is close-quarters work: head and shoulders, hands, details, half-length at most.
Balancing against the sun
Outdoors the ambient light is your key and the ring is fill. That’s the correct mental model and it makes the exposure decision simple.
Meter for the sun first. Set your shutter and aperture so the background looks how you want it, usually a touch under so it holds colour. Then bring the ring up underneath that. Roughly a stop below ambient reads as natural and just opens up the shadows under the brow and chin. Level with ambient reads as clean commercial fill. Above ambient gives you the punchy editorial look where the subject separates hard from a slightly darkened background. All three are valid, and the only way to know which you want is to shoot the same face at all three.
Watch your sync speed with a flash unit. If you need a wide aperture in full sun you’ll run into the 1/200 wall fast, and high speed sync costs you a large chunk of your output, which pushes you closer to the subject again.
Why it makes sense on a camera at an event
There’s a specific job the ring does better than a bounced speedlight, and it’s event work. You’re turning constantly. Sun behind you, sun in front, into a marquee, out onto a bright street, no wall to bounce off and no time to think. An on-axis source gives you the same result regardless of which way you’re pointing. The fill lands the same, the catchlight lands the same, and four hundred frames come back looking like one set instead of forty different lighting situations.
Predictability is worth a lot when you’re moving. A bounce flash is better when you have a low white ceiling and thirty seconds. Outdoors, moving through a crowd, the ring is the one that stays honest.
Macro is where it’s unbeatable
The original use case still stands. At ten centimetres from a flower or an insect, your lens barrel blocks any light coming from the front. A ring sits around the front element and lights past that obstruction. Nothing else solves the problem as cleanly. If you have a macro lens and a ring unit sitting in a drawer, put them together before you write the ring off.
Getting a little direction back
Total shadowlessness flatters faces and flattens objects. If you want some modelling without giving up the ring, there are three easy moves.
Mount it on a bracket and let it sit slightly above the lens rather than centred on it. Cover one half of the ring with a piece of black card or gaffer tape, which turns it into a small half-moon source with a soft direction to it. Or step off axis yourself and let the subject turn their face into the light rather than at it.
Buy used, buy manual, and learn the distance it works at. That’s most of it.